Setting up header & navigation menu using “Header Content” which build using Elementor page builder. It provides more flexibilities to fully customize main header content & layout.
First please install and activate Elementor and Grand Tour Theme Elements for Elementor plugins before you proceed.
Once you get required plugins installed. Please follow below steps.

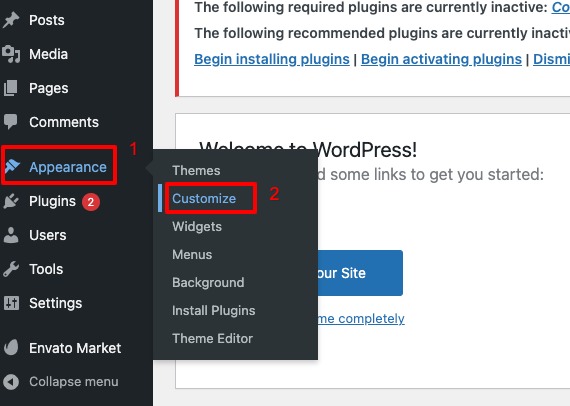
First please navigate to Appearance > Customize > Navigation > General > Display Header Content From and select “Header Content”. Then look at “Default Header Content Settings” section.

Select each header contents for your preferred. If they are all empty. It means that you haven’t created any header posts to use from WordPress Dashboard > Headers.
Here are details about each header content options.
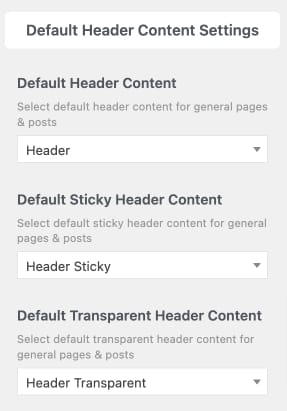
- Default Header Content – Select default header content for general pages & posts
- Default Sticky Header Content – Select default sticky header content for general pages & posts
- Default Transparent Header Content – Select default transparent header content for general pages & posts
You can select each header content options from your current header posts. However if you don’t create anything yet. Please follow below instructions.
Create header content posts
We are using Elementor Page Builder plugin so you can use its drag&drop user interface to create your header contents.


Please navigate to WordPress Dashboard > Headers > Add New Header. Then enter its title and click “Edit with Elementor” option.

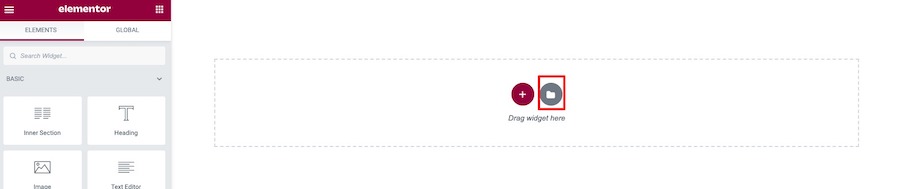
Now you will open Elementor page builder editor. You can customise header columns, image, navigation menu using Elementor widgets.
Import Demo Header

When you edit the header post using Elementor. You can import demo header by clicking on template button.

It will open a popup box. Click on “Blocks” tab and filter only “Theme Navigation” option. Then select header you want to import by clicking “Insert” button.
Elementor will ask to connect Elementor to your website. You have to create Elementor account and connect it to your website within this process (If you have already connected to Elementor. You can skip this step).
Once it’s imported successfully. You can customize menu columns, contents including social icons, buttons, logo image etc.
Adding Navigation Menu Widget
If you want to display your custom menu which you have already created it in Appearance > Menus. Simply select “elements” tab and search for “navigation”.

You will find “Theme Navigation Menu” widget there , drag it to where you want to display on the right side.
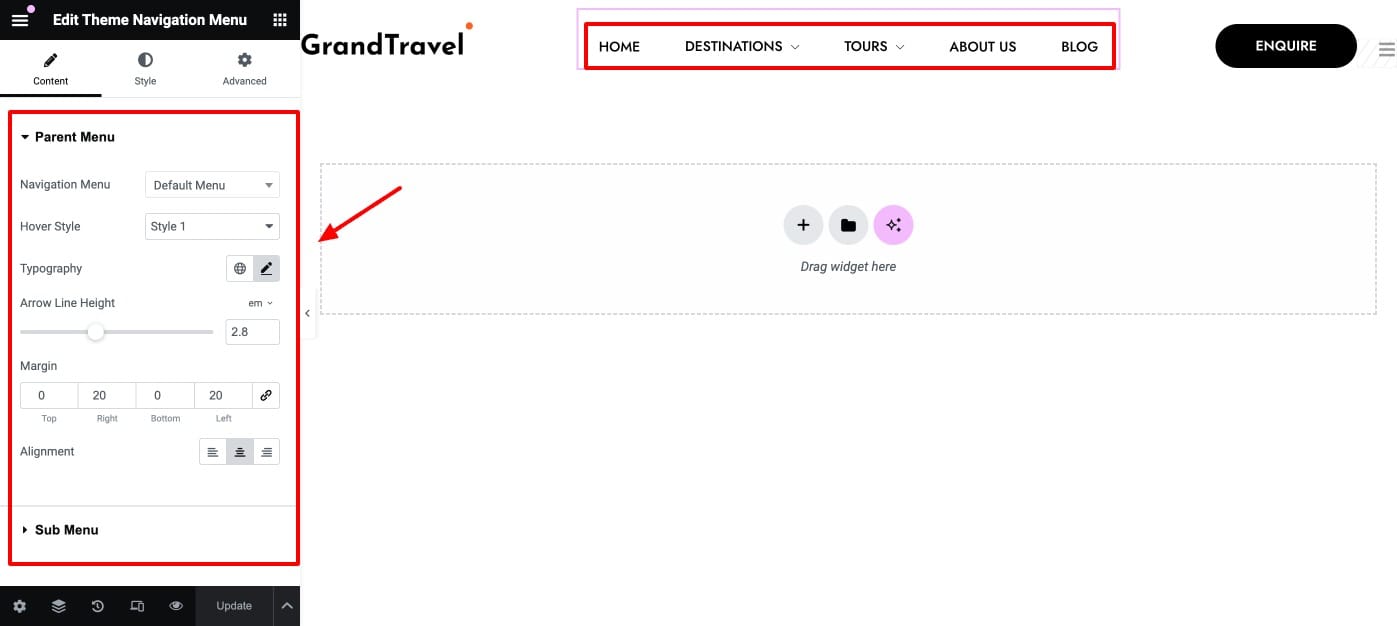
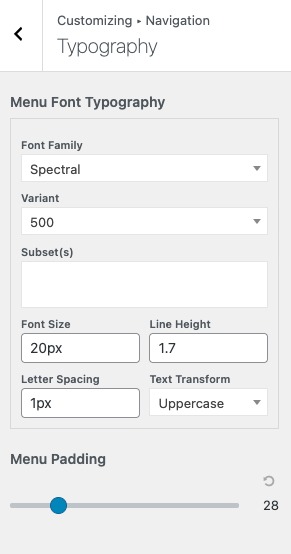
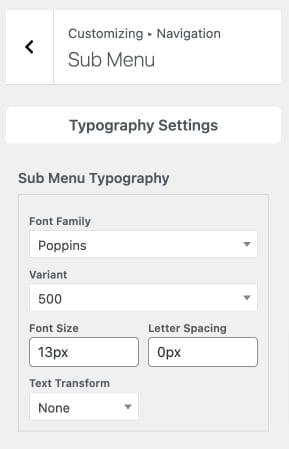
Then you can customize its options including typography, margin etc.
Adding Side/Mobile Menu Link
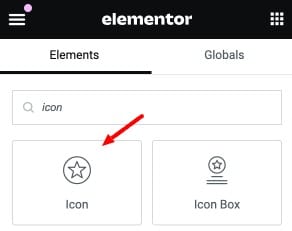
You can use widget such as button or icon to add link to mobile menu.

For example, I used icon widget then you have to add # to its link option so it’s clickable.

Then you need to link it to theme’s mobile menu. By open widget options. Click on “Advanced” tab and open “Link Options” then check “Link to side menu” option.
Setting up Header content to pages
Once you save all changes for header content. There are 2 options to set it up to pages.

First you can select it as default header content for all pages via Appearance > Customize > Navigation > General > Default Header Content.

Second you can overwrite default header content on selected page using Page option > Page Header when you edit a page individually.
What’s the different on each header state (sticky, transparent headers)
Our theme offers 3 header & navigation states. You can setup 3 different header posts for each states using above method. Please see details below about explanation of each states.
- Page Header – Select this page header content for default page header state
- Page Sticky Header –Select this page header content for sticky page header state which displays when users scroll down through page contents.
- Page Transparent Header –Select this page header content for transparent menu page header state when you check “Make Menu Transparent” option.


 Elementor will ask to connect Elementor to your website. You have to create Elementor account and connect it to your website within this process (If you have already connected to Elementor. You can skip this step).


 Elementor will ask to connect Elementor to your website. You have to create Elementor account and connect it to your website within this process (If you have already connected to Elementor. You can skip this step).