How to create schedules

Add schedules  via Schedules → Add new.

Here you’ll configure when, at what time, and where individual workers perform their duties.

  1. First of all, choose an employee you are creating a schedule for.
  2. Choose their main location (can be flexible for different working hours and days).
  3. Create a detailed timetable.

Timetable

In the timetable, for each day of the week you can choose:

  • A shift duration (working hours)
  • Lunchtime and break duration
  • Optionally set a different location depending on the day of the week.

The scheduling flexibility of the plugin also allows you to add:

  • days-off by choosing specific dates:

  • extra custom working times by choosing dates and specific working hours:

All these settings apply to the individual employees so you can create different schedules. You can also make changes to schedules anytime.

You can also display an employee schedule on the site suing a dedicated shortcode or widget.

How to create employee schedules

Add schedules for each employee via Schedules → Add new. You can add unlimited employees.

Here you’ll configure when, at what time, and where individual workers perform their duties.

  1. First of all, choose an employee you are creating a schedule for.
  2. Choose their main location (can be flexible for different working hours and days).
  3. Create a detailed timetable.

Employee timetable

In the timetable, for each day of the week you can choose:

  • A shift duration (working hours)
  • Lunchtime and break duration
  • Optionally set a different location depending on the day of the week.

The scheduling flexibility of the plugin also allows you to add:

  • days-off by choosing specific dates:

  • extra custom working times by choosing dates and specific working hours:

All these settings apply to the individual employees so you can create different schedules. You can also make changes to schedules anytime.

You can also display an employee schedule on the site suing a dedicated shortcode or widget.

Create Sessions, Session Topics and Schedule Days

What are different between Sessions, Session Topics and Schedule Days

  • Session – you can create each session for example keynote presentation with detailed information like session start time – end time, speaker etc.
  • Session Topics – once you created sessions, you can organise them into multiple topics so use can filter it on schedule page
  • Schedule Days – Generally each event or conference will be organised multiple days. So you group each sessions to selected day so use can see what’s session available on which day on schedule page

Setting up Schedule Days

Generally you have multiple days for event or conference and you want to organise sessions into different days ex. Day 1, Day 2 … Theme provide that functionality for you and it’s easy to setup

Go to WordPress Dashboard > Sessions > Schedule Days and enter informations to “Add New Schedule Day” form and click Add New Schedule Day.

Note: You can enter date, month, year of each day to its description field.

Setting up Session Topics

Generally if you many sessions for event or conference and you want to organise sessions into different topics ex. Business, Growth etc. So visitor can filter to topic they interest easily. Theme provide that functionality for you and it’s easy to setup

Go to WordPress Dashboard > Sessions > Session Topics and enter informations to “Add New Session Topic” form and click Add New Session Topic.

Create a New Session

First please login to your WordPress Dashboard. Go to WordPress Dashboard > Sessions > Add New Session

Enter session title, excerpt, speakers, start time, end time, location and you assign this session to schedule days and topics using options on the right sidebar.

Once you finish entering session informations then click “Update” to save changes.

Session Options

  • Speaker(s) – Select speakers for this session
  • Start Time – Enter start time for this session (format HH:MM ex. 09:00)
  • End Time – Enter end time for this session (format HH:MM ex. 09:00)
  • Location (Optional) – Enter location for this session ex. building name, room name

Create a schduled session page using Elementor

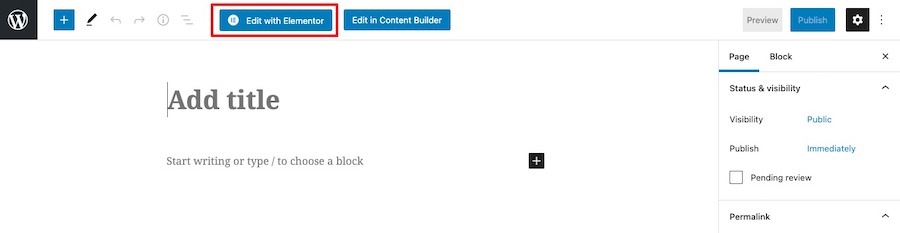
Go to WordPress Dashboard > Pages > Add New and enter page title.

Click “Edit with Elementor” button to open Elementor Page Builder.

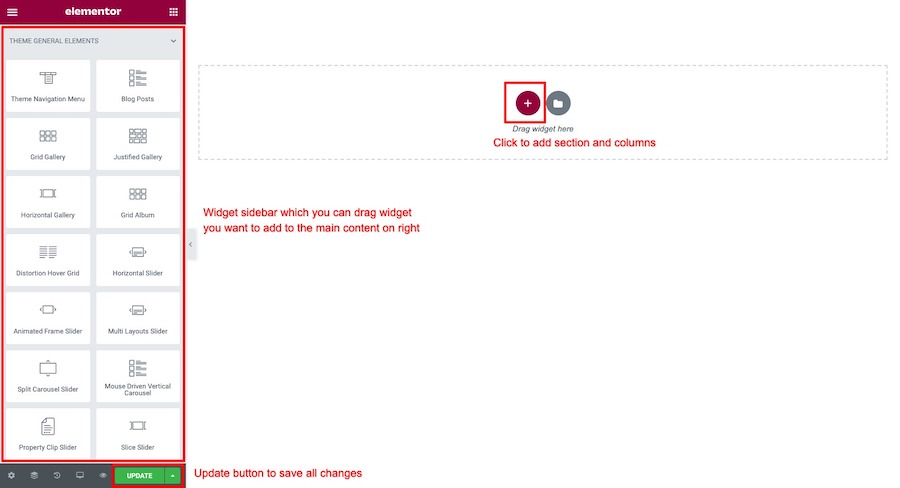
You will open a Elementor page builder. On the left sidebar.

To add session widget. Click on search bar on the left sidebar widget box. Then type “Session” it will shows all sessions widgets.  You can drag widget you want to add to the main content area on right side.