Go to the Booking menu to see all your bookings. If you want to manually add new reservations, click on the “Add new” button.
Click “Edit” to edit individual bookings.
Here is what you can update in a booking:
Booking status (pending, cancelled, or confirmed)
Booking details (total price and personal customer details)
Add a manual payment
Add or remove services/appointments
Change the appointment time and date
Change the number of people for the appointment.
Edit customer details and add booking notes / read booking notes left by your clients.
Here are rules applied when you add bookings manually as a website admin:
You can edit past dates. The minimum past date you can choose depends on the first booking ever made on your site. If this is a new booking, you can choose dates up to the first day of the current month.
The “Allow multibooking” option is taken into account for bookings with more than one service (even if this option is disabled in the plugin settings at the moment of editing the booking).
The reservation price can be automatically updated to the current one if the reservation was not paid yet or if the paid price is lower than the new one. In case of underpayment, customers can pay the required balance but recording refunds is not possible via the plugin’s system.
You can also view and manage all bookings in the individual Calendar menu (you must be on at least WordPress 5.0 to access the calendar).
Navigate to Appointments > Calendar to view past, current and future bookings.
To see details of each booking, for example, client name, phone, status or service booked, just click on the needed booking in a calendar and it will pop up reservation’s details.
Remember that one reservation can contain several services since one person can book different services during one checkout.
The Appointment Employee user role, which is assigned to individual service providers, can see the calendar as well but only their assigned bookings; they can’t access booking details of other employees. They are also not able to hit the “View Booking” button in the pop-up.
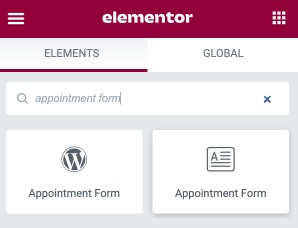
You can add the booking widget and other plugin-generated content using the Elementor page builders. For example, let’s take a look at the Elementor widgets generated by the Appointment Booking plugin:
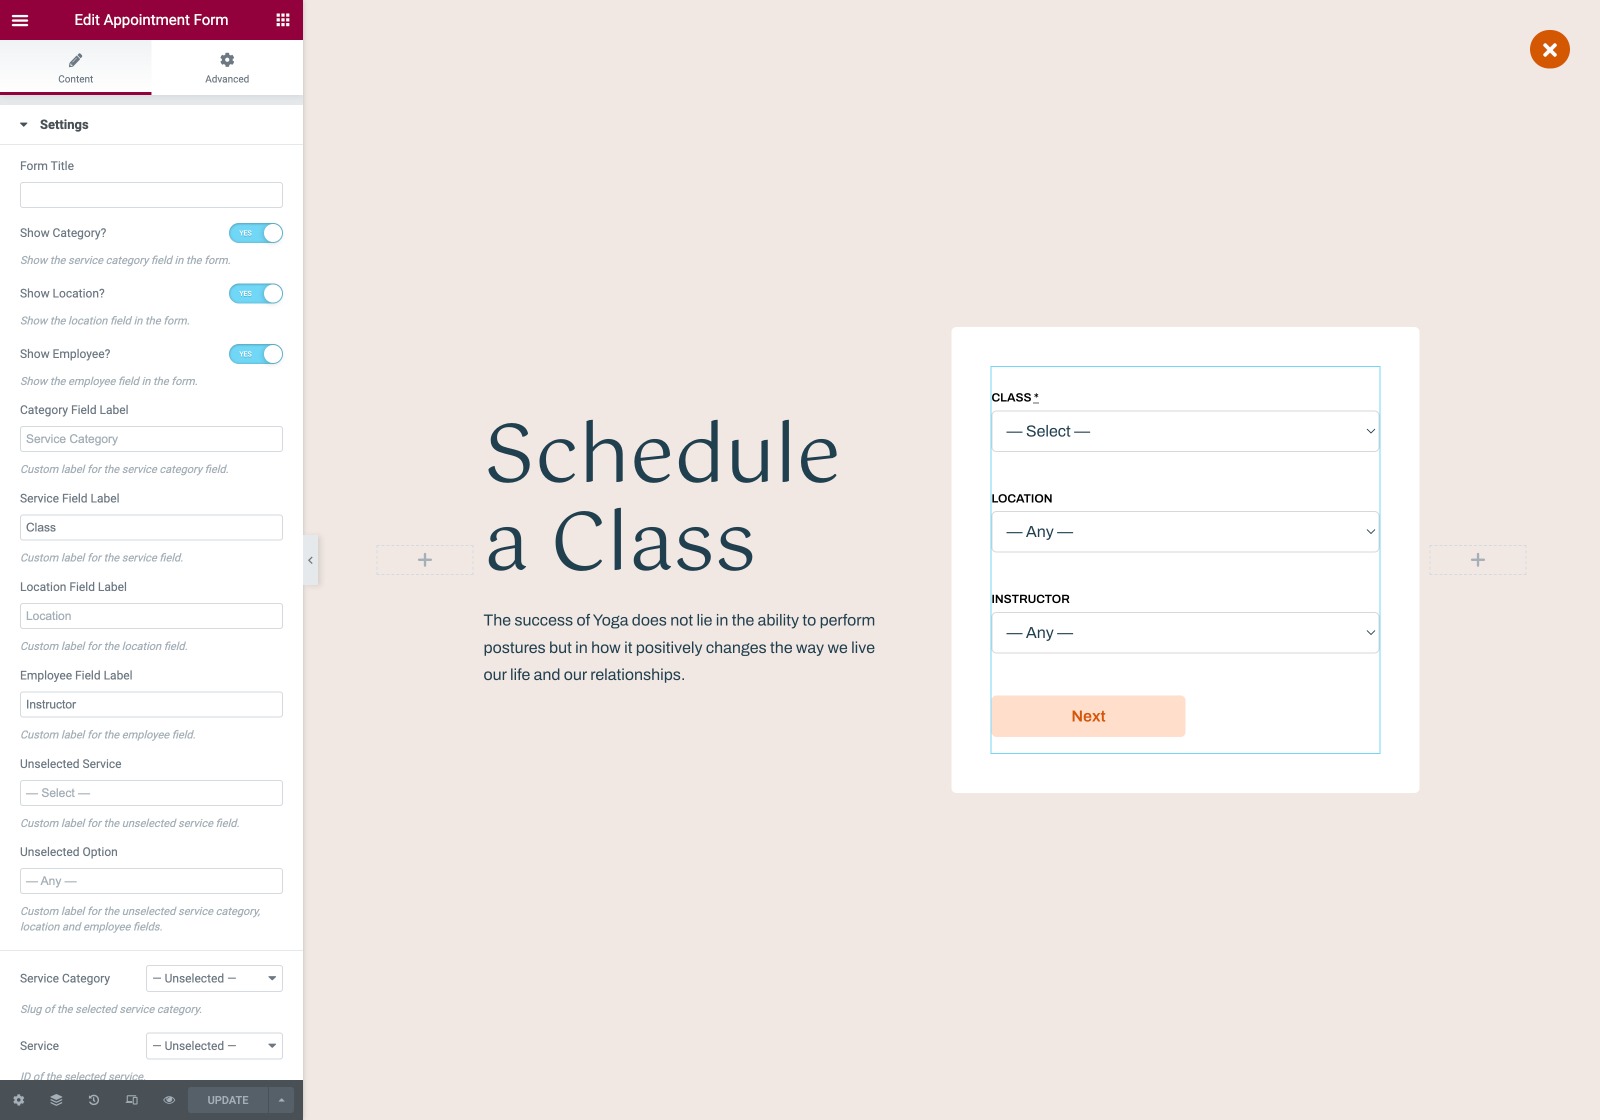
Each of these widgets comes with its own set of settings. For example, in the Appointment form widget below, you can show, hide or rename the needed booking wizard fields:
You can enable payment gateways at checkout by choosing the ‘Confirmation upon payment’ mode via Appointments > Settings > Confirmation mode.
Specific payment methods can be enabled via Appointments > Settings > Payments.
To enable and configure a preferable payment gateway, click on the ‘Manage’ button next to it.
Test payment. This is a plain sandbox that allows you to test email notifications and the booking process.
Pay on arrival . This method allows you to provide clients with instructions on how they can pay after arrival. Their bookings are added with the status ‘Confirmed’ automatically. Once they arrive, they can pay with cash or card; you need to open the needed booking and click ‘Add payment manually’ to record it.
Direct bank transfer. This payment method allows you to provide clients with instructions on how to pay for their appointment via a wire bank transfer. Their bookings are added with the status ‘Confirmed’ automatically. Once they transferred you the money, you need to open the needed booking and click ‘Add payment manually’ to record the payment.
Stripe, PayPal and other methods. For the online payment processing services, you need to add your tokens and configure the settings. For each of them, you can also enable a sandbox to test how the payments are processed. It’s really easy to do that by creating test sandbox accounts that will generate sample details for processing payments.
Note restrictions for Stripe-powered methods:
Bancontact, iDEAL, Giropay, SEPA Direct Debit and SOFORT have the EUR currency requirement.
The SOFORT payment method is only available in the following countries: Austria, Belgium, Germany, Spain, Italy and Netherlands.
Also, you can accept card payments via PayPal as well as allow clients to pay by logging in to their accounts. General settings
In this menu, you can choose which of the enabled payment methods will be pre-selected at checkout and the period of time in minutes required to complete the payment.
Go to the Booking menu to see all your bookings. If you want to manually add new reservations, click on the “Add new” button.
Click “Edit” to edit individual bookings.
Here is what you can update in a booking:
Booking status (pending, cancelled, or confirmed)
Booking details (total price and personal customer details)
Add a manual payment
Add or remove services/appointments
Change the appointment time and date
Change the number of people for the appointment.
Edit customer details and add booking notes / read booking notes left by your clients.
Here are rules applied when you add bookings manually as a website admin:
You can edit past dates. The minimum past date you can choose depends on the first booking ever made on your site. If this is a new booking, you can choose dates up to the first day of the current month.
The “Allow multibooking” option is taken into account for bookings with more than one service (even if this option is disabled in the plugin settings at the moment of editing the booking).
The reservation price can be automatically updated to the current one if the reservation was not paid yet or if the paid price is lower than the new one. In case of underpayment, customers can pay the required balance but recording refunds is not possible via the plugin’s system.
You can also view and manage all bookings in the individual Calendar menu (you must be on at least WordPress 5.0 to access the calendar).
Navigate to Appointments > Calendar to view past, current and future bookings.
To see details of each booking, for example, client name, phone, status or service booked, just click on the needed booking in a calendar and it will pop up reservation’s details.
Remember that one reservation can contain several services since one person can book different services during one checkout.
The Appointment Employee user role, which is assigned to individual service providers, can see the calendar as well but only their assigned bookings; they can’t access booking details of other employees. They are also not able to hit the “View Booking” button in the pop-up.
You can enable payment gateways at checkout by choosing the ‘Confirmation upon payment’ mode via Appointments > Settings > Confirmation mode.
Specific payment methods can be enabled via Appointments > Settings > Payments.
To enable and configure a preferable payment gateway, click on the ‘Manage’ button next to it.
Test payment. This is a plain sandbox that allows you to test email notifications and the booking process.
Pay on arrival . This method allows you to provide clients with instructions on how they can pay after arrival. Their bookings are added with the status ‘Confirmed’ automatically. Once they arrive, they can pay with cash or card; you need to open the needed booking and click ‘Add payment manually’ to record it.
Direct bank transfer. This payment method allows you to provide clients with instructions on how to pay for their appointment via a wire bank transfer. Their bookings are added with the status ‘Confirmed’ automatically. Once they transferred you the money, you need to open the needed booking and click ‘Add payment manually’ to record the payment.
Stripe, PayPal and other methods. For the online payment processing services, you need to add your tokens and configure the settings. For each of them, you can also enable a sandbox to test how the payments are processed. It’s really easy to do that by creating test sandbox accounts that will generate sample details for processing payments.
Note restrictions for Stripe-powered methods:
Bancontact, iDEAL, Giropay, SEPA Direct Debit and SOFORT have the EUR currency requirement.
The SOFORT payment method is only available in the following countries: Austria, Belgium, Germany, Spain, Italy and Netherlands.
Also, you can accept card payments via PayPal as well as allow clients to pay by logging in to their accounts. General settings
In this menu, you can choose which of the enabled payment methods will be pre-selected at checkout and the period of time in minutes required to complete the payment.
Add services you offer via Services → Add new. You can add unlimited services.
Service settings
The services are actual bookable slots – those can be anything from the beauty salon services to online classes.
You can add a service description and a featured image if you want to feature your services on dedicated pages. You can also add a service category to simplify and speed up the service search for your clients.
For each service, you can apply the following settings:
Service price (the currency sign will depend on the one you set via Settings at the beginning).
Custom service duration – these are bookable slots (the time slot depends on the minimum time step you set in Settings at the beginning).
Optional buffer times before and after the service – extra time added to the service duration – when you need to get prepared for the next booking or perform some extra actions after the booking; it applies to a particular employee and service (it’s invisible to your clients).
The ‘time before booking’ option allows you to set a minimum period of time required between the booking and the actual appointment (up to 31 days).
Assign eligible employees who can perform this service. You can also add a service capacity
Minimum capacity: a minimum number of people the set service price covers (even when this parameter is set to two or more, an appointment is still eligible for one person).
Maximum capacity: a maximum number of people eligible for one service appointment.
Allow additional guests: it’s required if you want to allow customers to add extra guests (e.g. capacity 2-7 means a person can take 5 more people).
Multiply price: enable this option if you want the base service price to be multiplied by the number of people for one appointment. However, if, for instance, a minimum capacity is two the Allow Additional Guests option is disabled, the service price will be still multiplied by two.
Go to the Booking menu to see all your bookings. If you want to manually add new reservations, click on the “Add new” button.
Click “Edit” to edit individual bookings.
Here is what you can update in a booking:
Booking status (pending, cancelled, or confirmed)
Booking details (total price and personal customer details)
Add a manual payment
Add or remove services/appointments
Change the appointment time and date
Change the number of people for the appointment.
Edit customer details and add booking notes / read booking notes left by your clients.
Here are rules applied when you add bookings manually as a website admin:
You can edit past dates. The minimum past date you can choose depends on the first booking ever made on your site. If this is a new booking, you can choose dates up to the first day of the current month.
The “Allow multibooking” option is taken into account for bookings with more than one service (even if this option is disabled in the plugin settings at the moment of editing the booking).
The reservation price can be automatically updated to the current one if the reservation was not paid yet or if the paid price is lower than the new one. In case of underpayment, customers can pay the required balance but recording refunds is not possible via the plugin’s system.
You can also view and manage all bookings in the individual Calendar menu (you must be on at least WordPress 5.0 to access the calendar).
Navigate to Appointments > Calendar to view past, current and future bookings.
To see details of each booking, for example, client name, phone, status or service booked, just click on the needed booking in a calendar and it will pop up reservation’s details.
Remember that one reservation can contain several services since one person can book different services during one checkout.
The Appointment Employee user role, which is assigned to individual service providers, can see the calendar as well but only their assigned bookings; they can’t access booking details of other employees. They are also not able to hit the “View Booking” button in the pop-up.
You can add the booking widget and other plugin-generated content using the Elementor page builders. For example, let’s take a look at the Elementor widgets generated by the Appointment Booking plugin:
Each of these widgets comes with its own set of settings. For example, in the Appointment form widget below, you can show, hide or rename the needed booking wizard fields: