
Go to WordPress Dashboard > Testimonials > Add New Testimonial

Enter testimonial title and you can add its testimonial quote to its content using WordPress visual editor.
Then select images you want to upload as testimonial author for this post. Once you finish upload it will automatically attach to this post and click “Update” to save changes.
Testimonial Options
- Customer Name – Enter customer name
- Customer Position – Enter customer position in company
- Company Name – Enter customer company name
- Company Website URL – Enter customer company website URL
Organise Testimonial by Categories
If you want to categorise Testimonial items by categories. You can do that easily.

- Open WordPress Dashboard > Testimonials > Testimonial Categories. You will see list of for menu categories you have.
- If you don’t have any, please create one first so you can assign items to it.
- Now back to edit menu page. Look at “Testimonial Categories” box and you will see list of your current menu categories. Check one you want to assign to this item and save changes.
Create a testimonial page using Elementor

Go to WordPress Dashboard > Pages > Add New and enter page title.
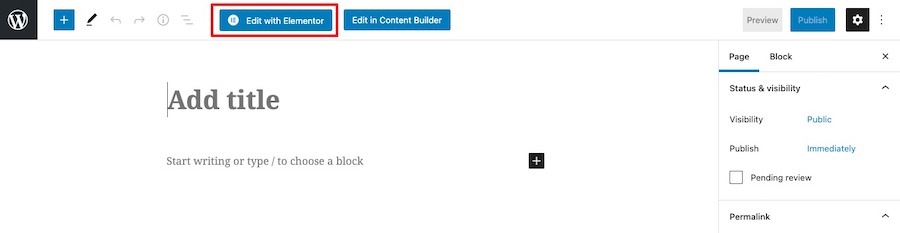
Click “Edit with Elementor” button to open Elementor Page Builder.
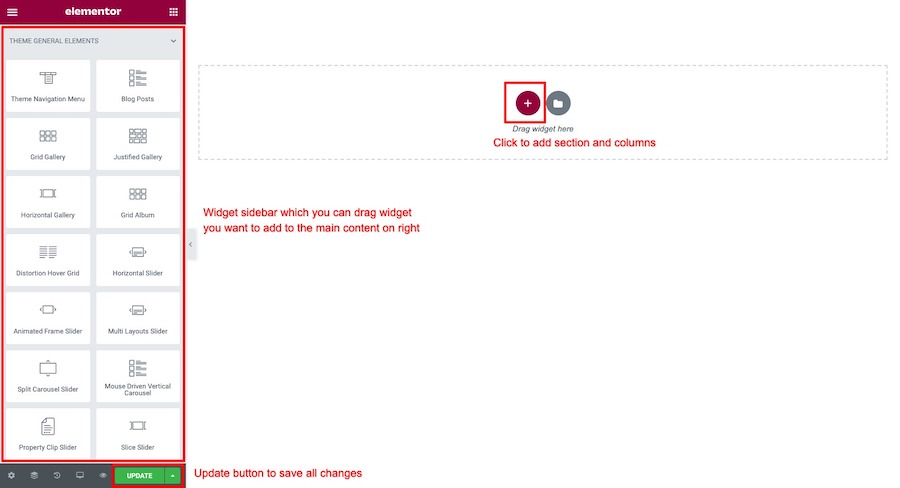
You will open a Elementor page builder. On the left sidebar.

To add testimonial widget. Click on search bar on the left sidebar widget box. Then type “Testimonial” it will shows all testimonial widgets. You can drag widget you want to add to the main content area on right side.