
Go to WordPress Dashboard > Ticket > Add New Ticket

Ticket Options
- Make this as recommended pricing – Check this option if you want to display this pricing as recommended one.
- Currency – Symbol of ticket currency
- Exact Price – Enter price of this ticket
- Plan Features – Enter ticket plan features list. Enter new line to make it display in the new list item.
- Button Text – Enter this ticket booking button text
- Booking Method –Select booking option for this ticket. We will cover detail of each booking method later in this article.
Booking Method
There are 2 booking methods for ticket.
Booking using Woocommerce product
This method will using Woocommerce product. So when your customer complete booking form. It will add selected product to cart and your customer can checkout and pay using online payment options from Woocommerce.

First you have to create a product for this tour via WordPress Dashboard > Products > Add Product. Enter product informations including price option.

Now when you edit tour item, look at ticket options > booking method. Select “Woocommerce” and you will see “Woocommerce Product option. Select product your just created and save changes.
Booking using external URL
This method will use custom URL. So when your customer complete booking form. It will redirect your customer to entered URL page.
Create a testimonial page using Elementor
Go to WordPress Dashboard > Pages > Add New and enter page title.
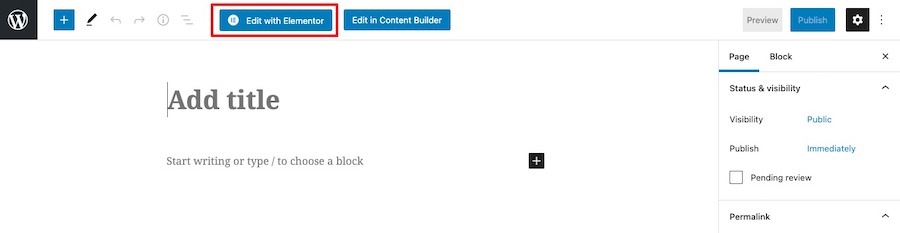
Click “Edit with Elementor” button to open Elementor Page Builder.
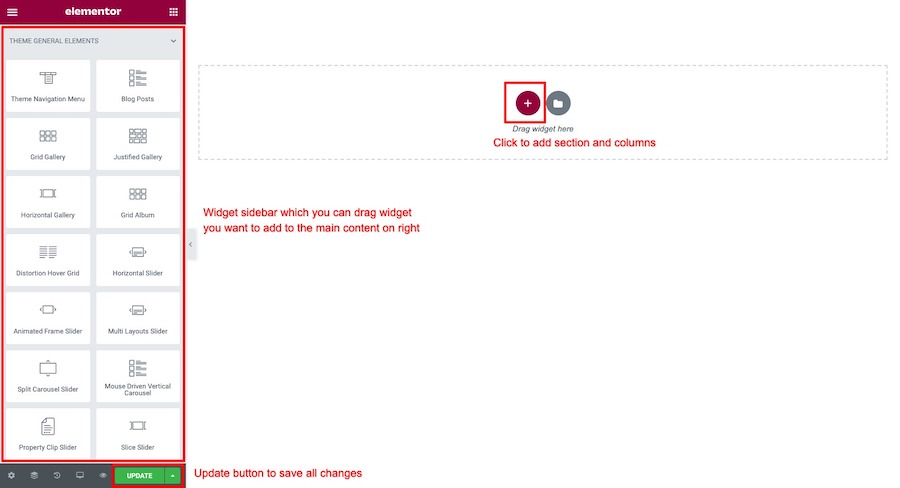
You will open a Elementor page builder. On the left sidebar.

To add ticket widget. Click on search bar on the left sidebar widget box. Then type “Ticket” it will shows all ticket widget. You can drag widget you want to add to the main content area on right side.